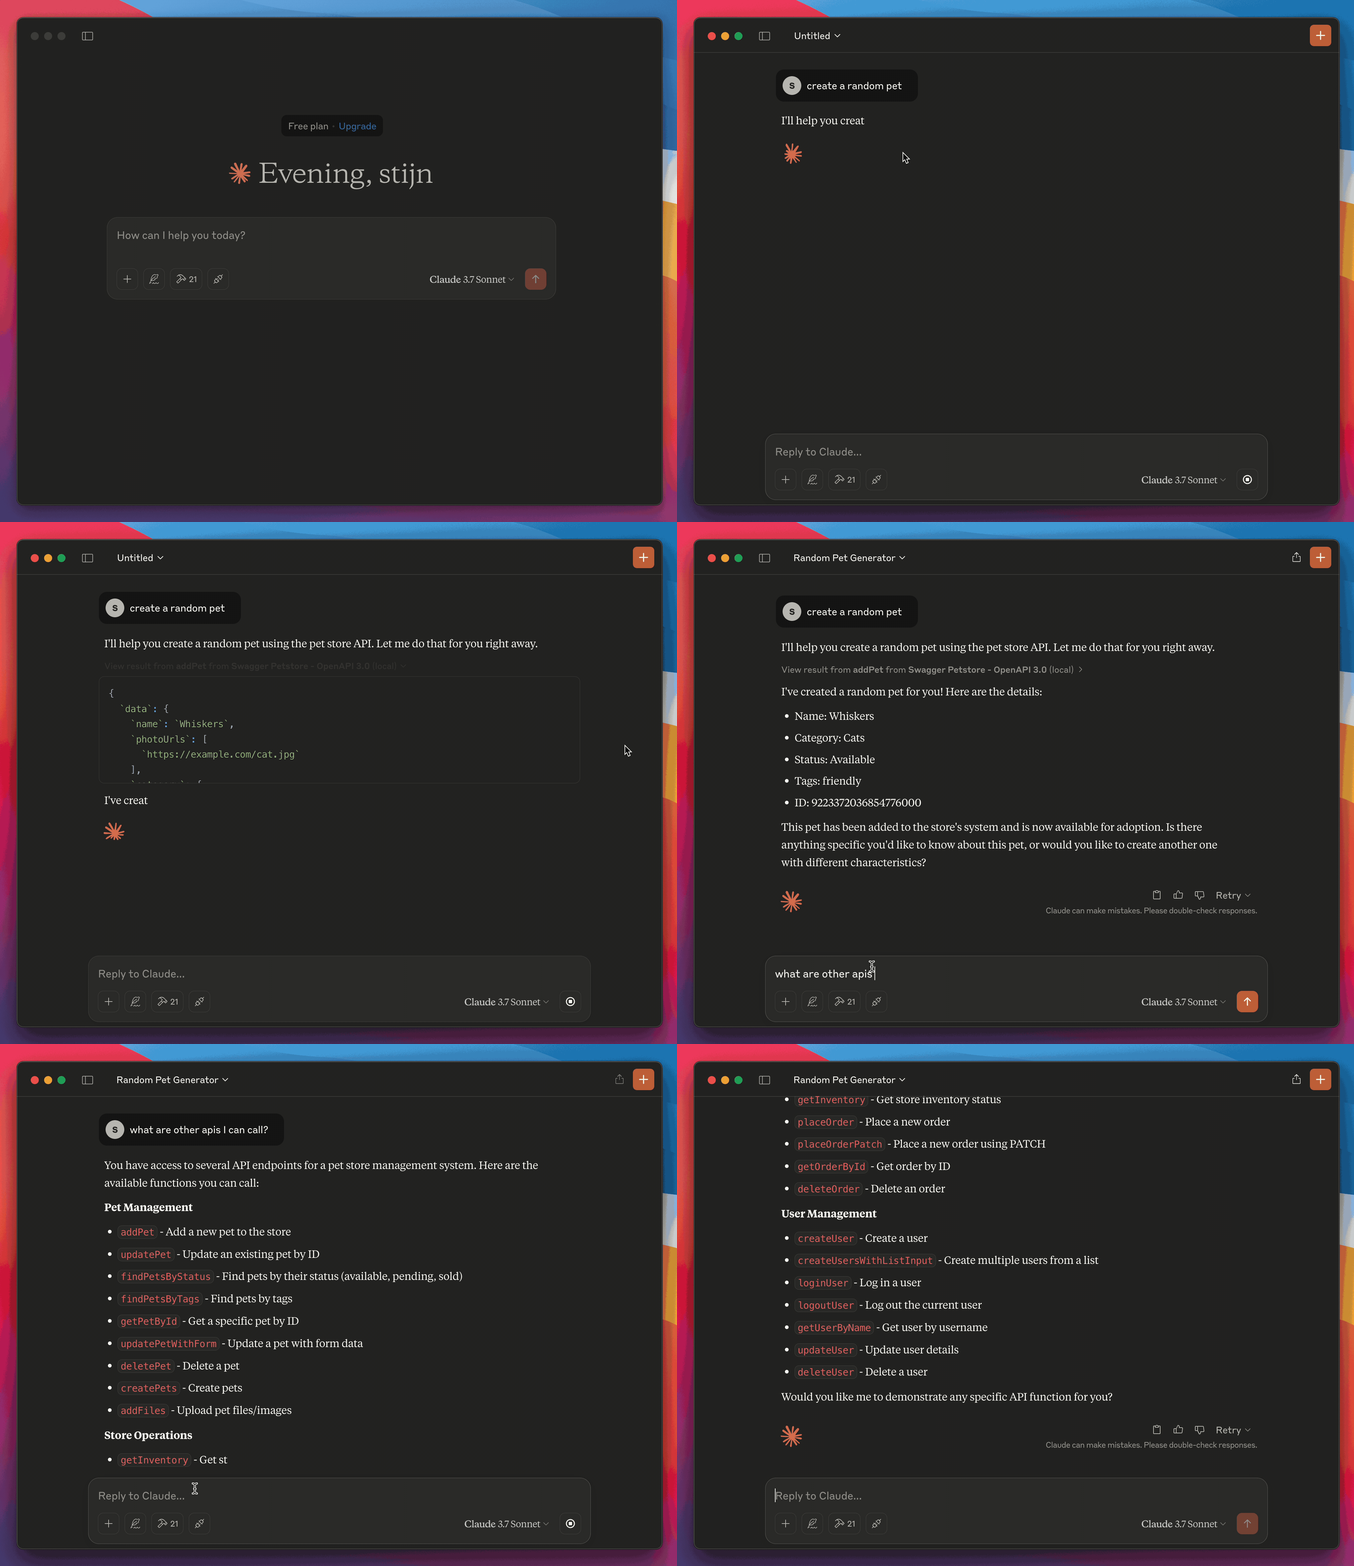
Setup Claude with Kubb @kubb/plugin-mcp
Kubb, Claude, and MCP (Model Context Provider) work together to streamline API interactions with conversational AI.
Kubb generates type-safe code from OpenAPI specs, automating the creation of API files, Zod schemas, and MCP server setup.
Claude, a conversational AI, uses MCP to interact with these APIs through natural dialogues.
MCP ensures Claude maintains relevant and coherent conversations while interacting with your backend.
"Together, they automate API calls and build intelligent, conversational applications."
Installation
Before using Claude, install Claude desktop and follow the tutorial: https://modelcontextprotocol.io/quickstart/user.
Additionally, you’ll need to install Kubb with the MCP plugin.
IMPORTANT
Minimal Kubb version of v3.10.0.
TIP
The MCP plugin uses the OAS, TypeScript, and Zod plugins to create all necessary files.
bun add -d @kubb/plugin-mcp @kubb/plugin-oas @kubb/plugin-ts @kubb/plugin-zodpnpm add -D @kubb/plugin-mcp @kubb/plugin-oas @kubb/plugin-ts @kubb/plugin-zodnpm install --save-dev @kubb/plugin-mcp @kubb/plugin-oas @kubb/plugin-ts @kubb/plugin-zodyarn add -D @kubb/plugin-mcp @kubb/plugin-oas @kubb/plugin-ts @kubb/plugin-zodDefine kubb.config.ts
To use Claude, define a kubb.config.ts file with MCP server setup and configuration.
IMPORTANT
Define your baseURL so Claude knows which endpoints to call.
import { defineConfig } from '@kubb/core'
import { pluginOas } from '@kubb/plugin-oas'
import { pluginTs } from '@kubb/plugin-ts'
import { pluginMcp } from '@kubb/plugin-mcp'
import { pluginZod } from '@kubb/plugin-zod'

export default defineConfig({
  input: {
    path: './petStore.yaml',
  },
  output: {
    path: './src/gen',
  },
  plugins: [
    pluginOas(),
    pluginTs(),
    pluginMcp({
      client: {
        baseURL: 'https://petstore.swagger.io/v2',
      },
    }),
  ],
})
Generate MCP files
Run the following command to create the desired files.
npx kubb generateInspect generated files
This example focuses on the src/mcp folder, which contains files for creating an MCP server and connecting Claude to your APIs.
.
├── src/
│   └── mcp/
│   │   ├── addPet.ts
│   │   └── getPet.ts
│   │   └── mcp.json
│   │   └── server.ts
│   └── zod/
│   │   ├── addPetSchema.ts
│   │   └── getPetSchema.ts
│   └── models/
│   │   ├── AddPet.ts
│   │   └── GetPet.ts
│   └── index.ts
├── petStore.yaml
├── kubb.config.ts
└── package.json
src/mcp/addPet.ts
The addPetHandler function sends a POST request to the Swagger PetStore API to add a new pet. It takes pet data as input, handles the response, and returns it as a JSON-formatted message for MCP to use in conversations.
import client from "@kubb/plugin-clients/client/axios"
import type { AddPetMutationRequest, AddPetMutationResponse, AddPet405 } from '../models/AddPet'
import type { CallToolResult } from '@modelcontextprotocol/sdk/types'

export async function addPetHandler({ data }: { data: AddPetMutationRequest }): Promise<Promise<CallToolResult>> {
  const res = await client<AddPetMutationResponse, ResponseErrorConfig<AddPet405>, AddPetMutationRequest>({
    method: 'POST',
    url: '/pet',
    baseURL: 'https://petstore.swagger.io/v2',
    data,
  })
  return {
    content: [
      {
        type: 'text',
        text: JSON.stringify(res.data),
      },
    ],
  }
}
src/mcp/mcp.json
This configuration sets up an MCP server named "Swagger PetStore - OpenAPI 3.0”, uses info.title from your OpenAPI/Swagger file.
It runs a TypeScript server (server.ts) using the tsx command, enabling MCP to handle API-related tool calls via standard input/output.
{
  "mcpServers": {
    "Swagger PetStore - OpenAPI 3.0": {
      "type": "stdio",
      "command": "npx",
      "args": ["tsx", "/mcp/src/gen/mcp/server.ts"]
    }
  }
}
src/mcp/server.ts
This code sets up and starts an MCP server that listens for tool calls to "add a pet to the store" via the "Swagger PetStore API"(your OpenAPI/Swagger file).
- It imports necessary classes from the MCP SDK and the custom addPetHandler function.
- It creates an MCP server named “Swagger PetStore - OpenAPI 3.0”.
- It registers a tool (
addPet) with the server that triggers theaddPetHandlerwhen called, expecting the pet data in the form defined byaddPetMutationRequestSchema(generated by the Zod plugin). - The
startServerfunction connects the server to astdio transport, meaning it will communicate through standard input/output. If successful, Claude could interact with your API.
In short, this code sets up an MCP server that processes API requests to 'add a new pet' by using the addPetHandler.
import { McpServer } from '@modelcontextprotocol/sdk/server/mcp'
import { StdioServerTransport } from '@modelcontextprotocol/sdk/server/stdio'

import { addPetHandler } from './addPet'
import { addPetMutationRequestSchema } from '../zod/addPetSchema'

export const server = new McpServer({
  name: 'Swagger PetStore - OpenAPI 3.0',
  version: '3.0.3',
})


server.tool('addPet', 'Add a new pet to the store', { data: addPetMutationRequestSchema }, async ({ data }) => {
  return addPetHandler({ data })
})

async function startServer() {
  try {
    const transport = new StdioServerTransport()
    await server.connect(transport)

  } catch (error) {
    console.error('Failed to start server:', error)
    process.exit(1)
  }
}

startServer()
Start Claude with the MCP server
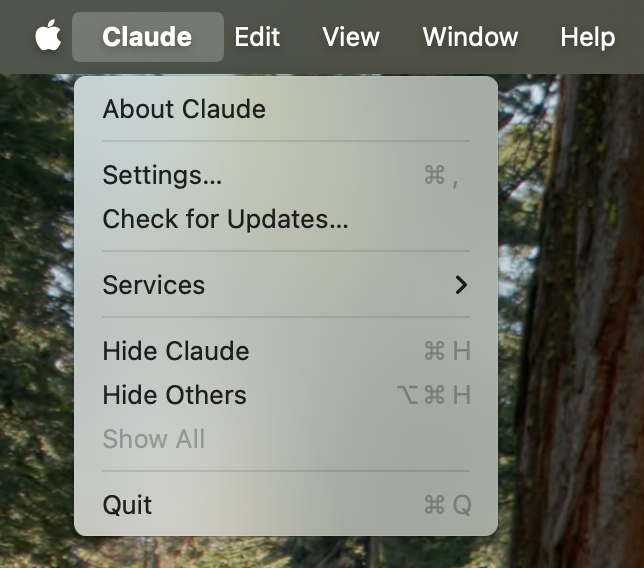
Before starting, let Claude know where your MCP server config file is located (src/mcp/mcp.json). Open Claude desktop and go to settings.
The settings panel opens. Go to the developer section and click edit config. A window displays showing the location of the JSON file that contains all MCP servers.
TIP
Manually navigate to:
- Mac:
~/Library/Application Support/Claude/claude_desktop_config.json - Windows:
%APPDATA%\Claude\claude_desktop_config.json
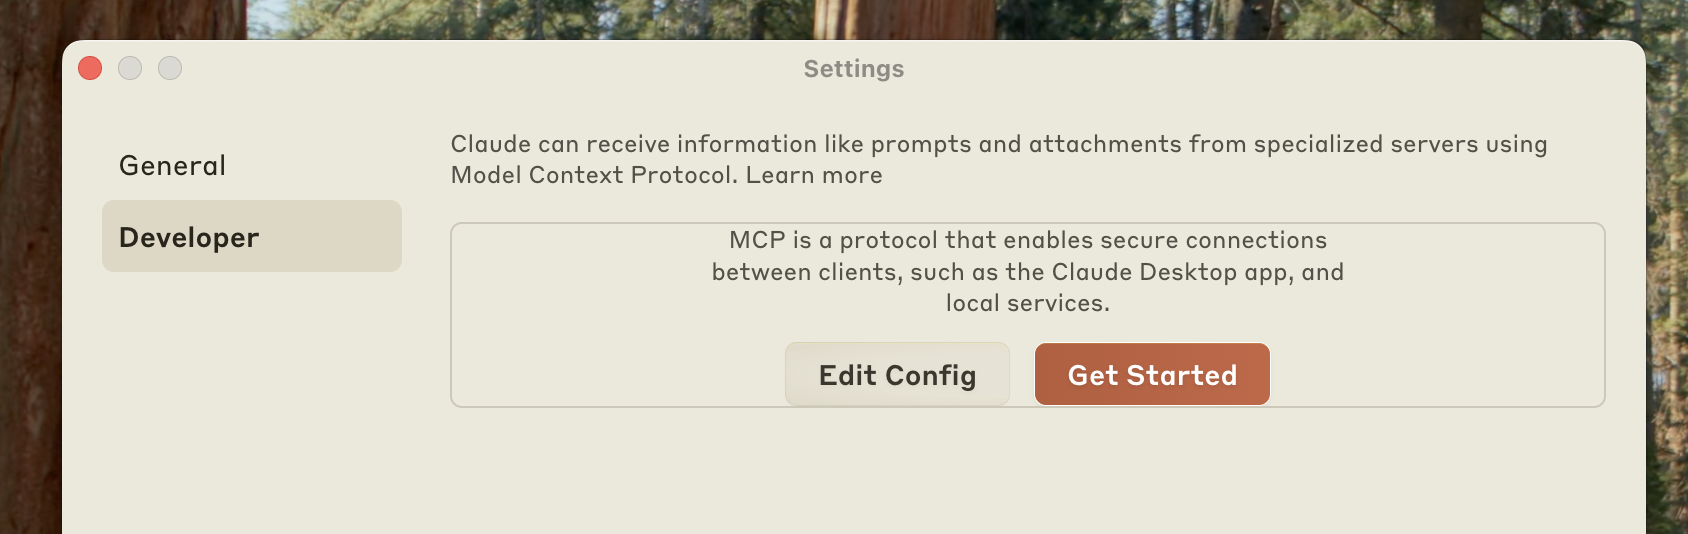
Copy the content of src/mcp/mcp.json to make Claude aware of your MCP server.
TIP
If you’re using multiple MCP servers, remember to append the config instead of overriding it.
For example:
{
  "mcpServers": {
    "Swagger PetStore - OpenAPI 3.0": {
      "type": "stdio",
      "command": "npx",
      "args": ["tsx", "mcp/src/gen/mcp/server.ts"]
    },
    "github": {
      "command": "docker",
      "args": [
        "run",
        "-i",
        "--rm",
        "-e",
        "GITHUB_PERSONAL_ACCESS_TOKEN",
        "mcp/github"
      ],
      "env": {
        "GITHUB_PERSONAL_ACCESS_TOKEN": "<YOUR_TOKEN>"
      }
    }
  }
}
Validate your MCP server
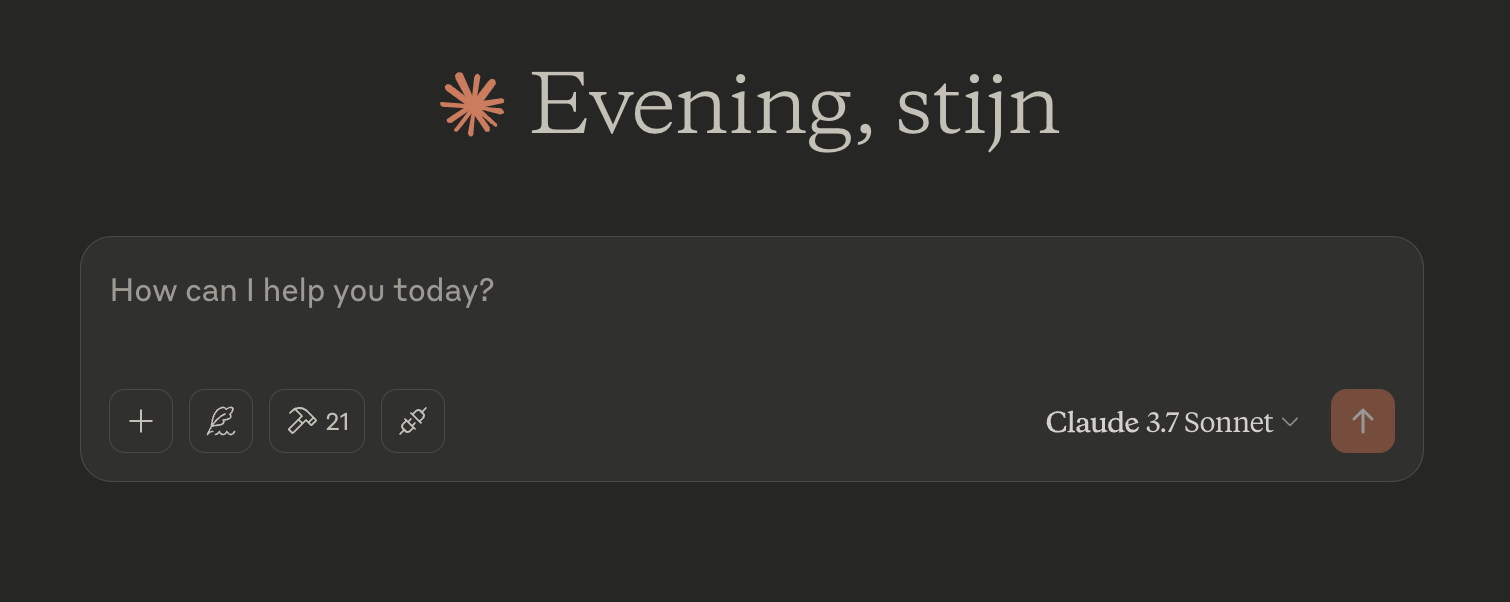
Stop Claude and reopen the desktop application.
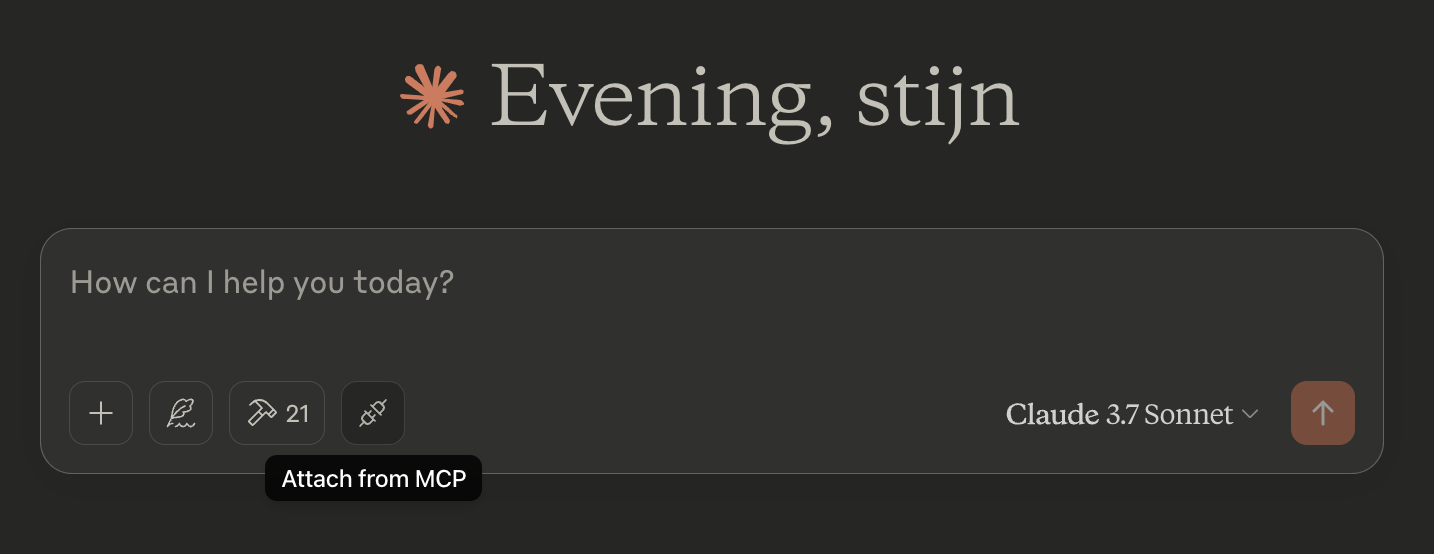
After that, validate that your MCP server is connected and working by clicking the following button.
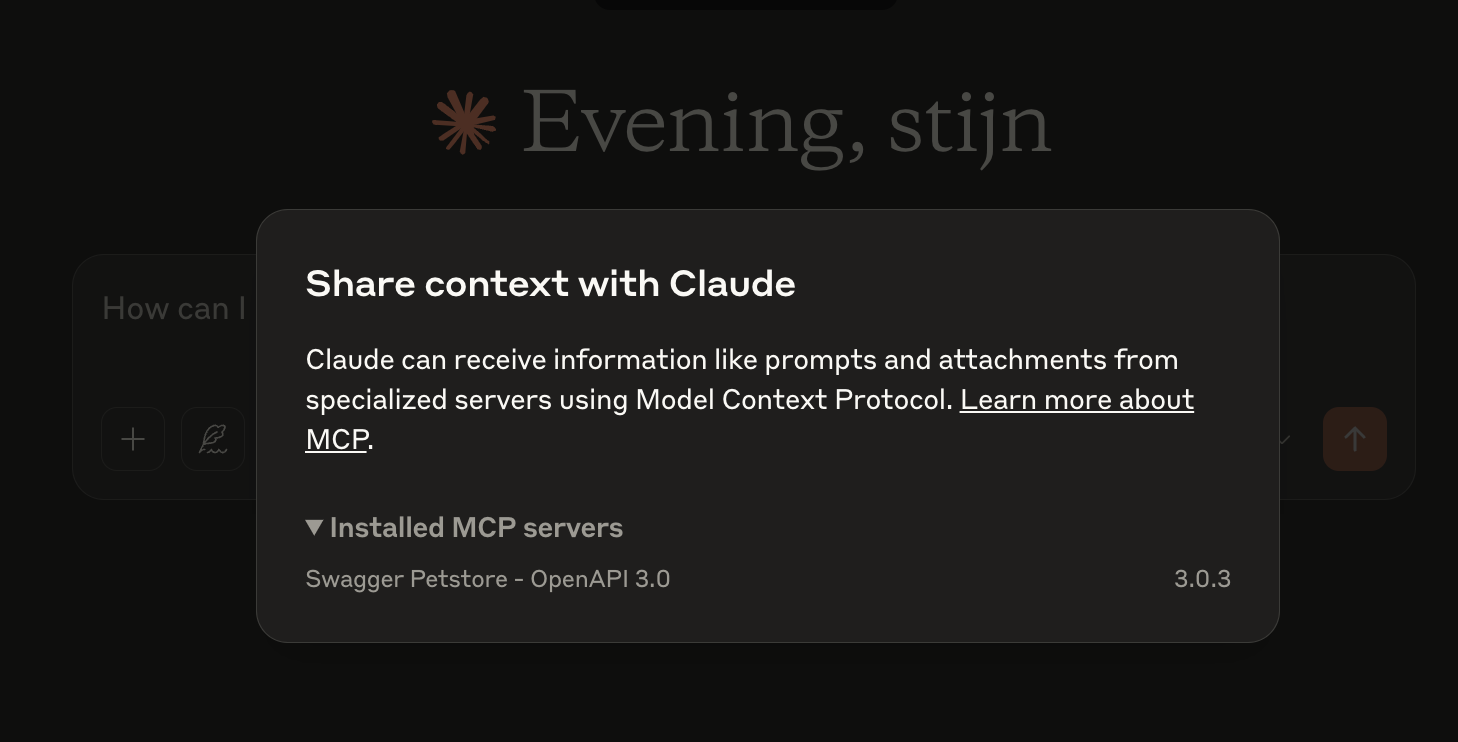
The following view opens, showing your generated MCP server.
Use your MCP server
In this example, use the prompt create a random pet to call your generated MCP server. The server attaches the prompt to the tool addPet, which calls addPetHandler and creates the pet.